After I had edited the news package, and the live, it was time to edit the full episode, including the green screen shot, and the promo.
THE FULL VIDEO
Before I began to edit anything, I imported all of the footage into Adobe Premiere Pro, and organised it into bins. These help me keep track of everything. Next I created two sequences, one for the final output, and one for organised green screen footage.
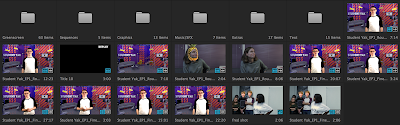 |
| My bins |
 |
| My sequences |
Next I watched through all of the green screen footage and picked out the good takes, inserting them into my gree screen raw sequence. Once I had done this, I began to place clips into the final output sequence.
I went through, adding the green screen clips, and any additonal music/sfx or graphics. I also added in the pre-made news package and live package, as well as all the aditonal footage we filmed for our visual gags.
Once all the cuts had be fine tuned and finalised, I began to edit the backgrounds on all the green screen footage. I carried out the same process I used for the green screen footage in live piece, using After Effects. First I used Keylight to remove the green, then after some fine tuning, I added the studio background, adding a camera lens blur to create a depth of field effect.
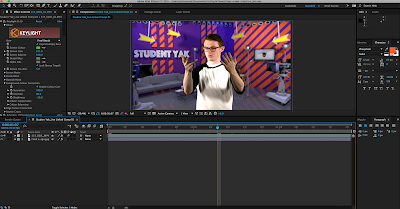 |
| Editing the green screen footage |
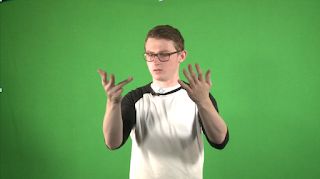 |
| Before |
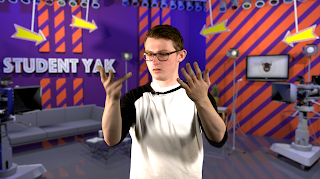 |
| After |
Once I had replaced all the backgrounds, I went through and worked on the sound levels, trying to find a good balance between dialogue, music, and sound effects. Finally, added a few additional After Effects graphics to clips that needed them, like the view count reveal, and the FRED joke during the live replay.
After our rough cut feedback, Nisserin used the Lumetri Colour tools to work on colour correcting some of our footage.
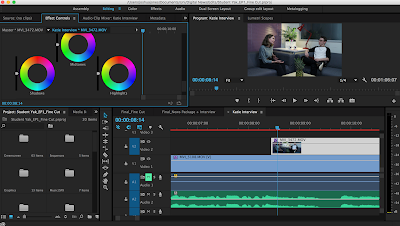 |
| Using the Lumetri Colour tools |
After all of this had been completed, the final cut was ready.
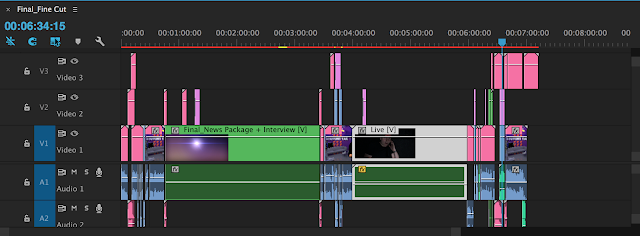 |
| The final sequence |
PROMO
The final part of the editing process for this unit was putting together our 30 second promo. For the promo we decided to do a 1950s/60s style product advert. We filmed the footage in front of a green screen so we could change the background. We wanted the advert to take place in a kitchen, so I created a set for one on Sweet Home 3D. I then used the same green screening process as before to replace the background on the necessary clips.
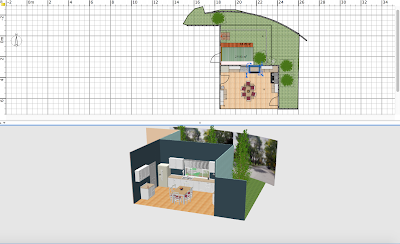 |
| The kitchen set |
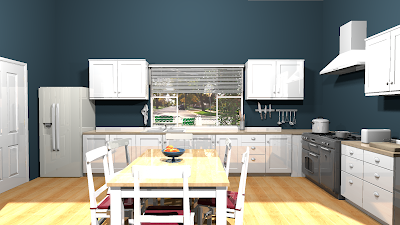 |
| A 3D render of the set |
In Premiere Pro, I put the promo together, starting first with our opening green screen shot. Next I added in a few clips from the Student Yak episode, that I felt best represented the show. And finally, I imported an image I had created that simulated Student Yak, as a beer bottle in the kitchen from the beginning. We felt a beer bottle was the best representation for our brand, as it's something a lot of students love.
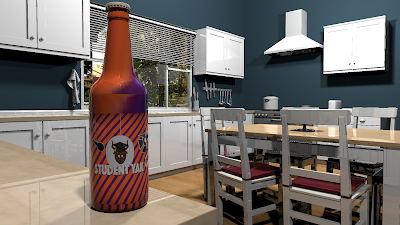 |
| The bottle shot |
I then opened the final bottle shot in After Effects and added some text animations to fit with what the narrator was saying. This included the show title, and social media links. I also messed around with the image a little, blurring out the kitchen behind the bottle, to create a depth of field effect.
Next, I opened the entire sequence up in After Effects, and created the effect of the promo being played on a 50s/60s style TV. The camera pulls away to reveal the clips playing on the TV, before pushing back in for the final bottle shot.
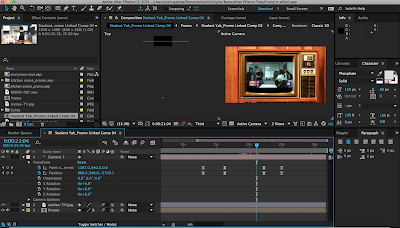 |
| Creating the TV effect |
Finally, I added all of the pre-recorded narration, and a black and white to colour effect that lined up with the narration, and the promo was complete.
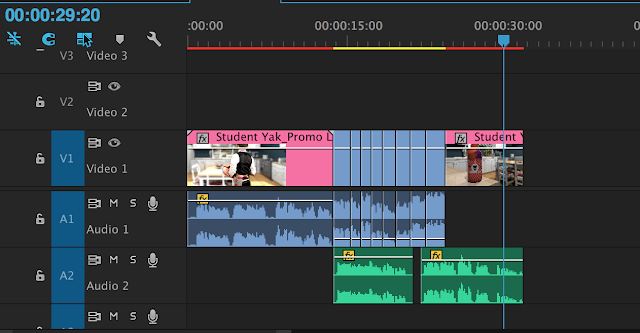 |
| The final timeline |
Overall, our group is very happy with both the full episode, and the promo.


0 comments:
Post a Comment